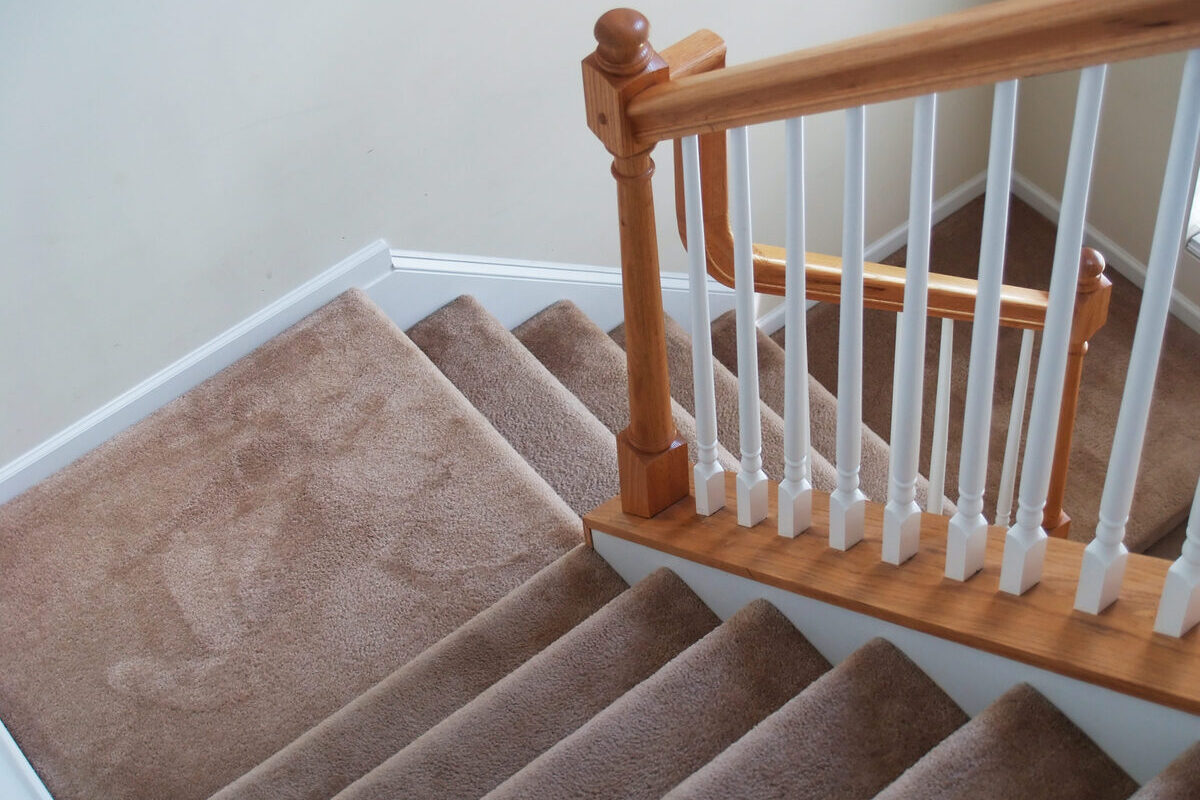
Are you looking to add a touch of warmth and style to your staircase? Installing carpet on stairs can do just that. It not only improves the overall appearance of your home but also provides comfort and sound insulation. If you’re ready to take on this rewarding project, let’s dive into the step-by-step process of installing carpet on stairs.
Assess Your Stairs: Are They Ready for Carpet?
Assessing the suitability of your stairs for carpet installation is a crucial step before embarking on the process. Taking the time to evaluate their condition ensures that you achieve optimal results. Begin by ensuring the structural integrity of the stairs, as a strong foundation is essential for a long-lasting carpet installation.
Check each step for any signs of damage or wear. Look for cracks, chips, or any other form of structural compromise that could affect the carpet’s stability. Address any issues promptly, as repairing or reinforcing the stairs beforehand will provide a solid base for the carpet.
Measure Your Stairs
When preparing for a carpet installation on your stairs, taking precise measurements is essential to ensure a flawless outcome. Paying careful attention to detail will save you time and effort in the long run.
- Begin by measuring the width of each step. Use a measuring tape to determine the distance from one side of the step to the other. Record these measurements for each step individually.
- Next, measure the depth of each step. Measure from the edge of the tread to the back of the step, ensuring you capture the entire depth accurately. Note these measurements for each step separately.
- If you plan to carpet the risers as well, measure their height. Measure from the bottom edge of the tread to the top edge of the riser, precisely capturing the vertical distance. Document these measurements for each riser.
- Pay attention to any irregularities or variations in size between steps. Note down any differences in width, depth, or height as these will influence your carpet cutting and fitting process.
- To ensure a proper fit, add a few extra inches to your measurements. This additional allowance accounts for trimming the carpet edges and accommodating any adjustments needed during the installation.
Prepare Tackless Strips and Installing Them on Stairs
Tackless strips are an essential component of carpet installation on stairs. They provide the necessary support to securely fasten the carpet on each stair while avoiding the need for unsightly tacks, staples, or glue. To prepare tackless strips, you will need to measure and cut each strip to the exact width of each tread riser. Then, you can nail it onto the staircase using pre-cut nails.
When installing tackless strips, it is crucial to know where to place them. The strips should be installed directly on the edge of the stair against the wall. A strip should be installed along every edge where the carpet meets the staircase, including the outer edge.
Measure and Cut the Carpet Pad
Once you have installed the tackless strips on the stairs, it’s time to measure and cut the carpet pad to fit each tread and riser. This step is crucial to ensure the carpet is properly fitted and does not create any bumps or wrinkles when it’s installed.
Start by measuring the width of the stairs from the front edge of the tackless strip across the tread to the nosing. Use this measurement to cut a piece of carpet padding with a utility knife. Make sure the carpet pad is the same width as the tackless strip and at least 3 inches longer than the tread depth to ensure overlap around the nosing.

Laying Down Carpet on the Staircase
After you have installed the tack strips, padding, and prepared the staircase, it’s time to start laying down your carpet. Start by unrolling enough carpet for one entire flight of steps. Here’s how to do it:
- Identify the highest point of your staircase: Before you start unrolling your carpet, you need to identify the highest point of your staircase. This will help you determine where to start laying your carpet.
- Lay out the unrolled carpet at the top of your first step: Once you have identified the highest point of your staircase, lay out the unrolled carpet at the top of your first step. Make sure that the carpet is centred and even on the step.
- Ensure that the rest of the carpet runs over staircase nosing: As you move down each step, ensure that the rest of the carpet runs over the staircase nosing. The nosing is the edge of the stair that overhangs the riser.
- Slowly move down each step, making sure to press firmly to avoid wrinkles: As you move down each step, make sure to press firmly to avoid wrinkles. This will ensure a smooth and even finish. Take your time to avoid any mistakes.
- Keep unrolling until you reach the bottom: Continue unrolling the carpet down the staircase until you reach the bottom. Make sure that the carpet fits snugly against the wall and is not bunched up or wrinkled.
Choose a Method for Installing Your Carpet
When it comes to installing carpet on stairs, there are two main methods to choose from: the waterfall method and the Hollywood method (also known as the straight-across method). Understanding the differences between these methods and when to use each one can ensure that your carpet installation process runs smoothly and results in a polished finish.
Waterfall Method
The waterfall method involves laying the carpet over the edge of the stair and straight down the vertical riser. The carpet is then tucked into the crotch of the next step and fastened. This creates a seamless, flowing look, hence the name “waterfall”. This method is often used for stairs with square steps that are enclosed by walls or have no nosing or overhang.
Hollywood Method
The hollywood method involves wrapping the carpet over the front of the stair and fastening it under the lip of the tread on the next step. This creates a more defined edge and a crisp, clean look. This method is often used for stairs with visible treads and risers.
Differences and When to Use
The main difference between the two methods is the way the carpet is secured at the bottom of each step. In the waterfall method, the carpet is tucked under the lip of the next step, while in the hollywood method, the carpet is fastened under the lip of the tread. The method you choose will depend on the style of carpeting and the type of staircase you have.
The type of carpet you’ve selected may also affect which method of installation is easier to use. For example, wool carpeting is often thicker and more difficult to work with, making the Hollywood method a better choice. Meanwhile, a carpet with a busy pattern might benefit more from the waterfall method to create a seamless look.
Securing the Carpet
Once you have chosen your preferred method for installing carpet on stairs, the next step is to secure the carpet in place. This can be done with a knee kicker or power stretch tool, both of which are designed to stretch the carpet tightly and anchor it to the tack strip. For homeowners who want a more precise finish, experienced flooring installers can help.
Secure the Starting Edge of Your Carpet
To begin, you’ll need to fold the carpet up from the bottom riser and align it with the top of the next tread. This will ensure that the carpet fits snugly against the riser and that there are no wrinkles or bubbles. Take extra care to ensure that the starting edge is aligned with the top tread and is not misplaced.
Next, you’ll need to use a staple gun to fasten the carpet to the riser. Ensure that the staple gun is flush against the carpet to avoid damaging the fibre. Repeat this process on the other side of the staircase, ensuring that the carpet is taut and secure.
It’s essential to secure the starting edge of your carpet correctly as this will lay the foundation for the rest of the carpet installation process. A poorly secured starting edge can result in an uneven and unstable carpet, making it dangerous to walk on.
Attach Your Runner to Each Tread
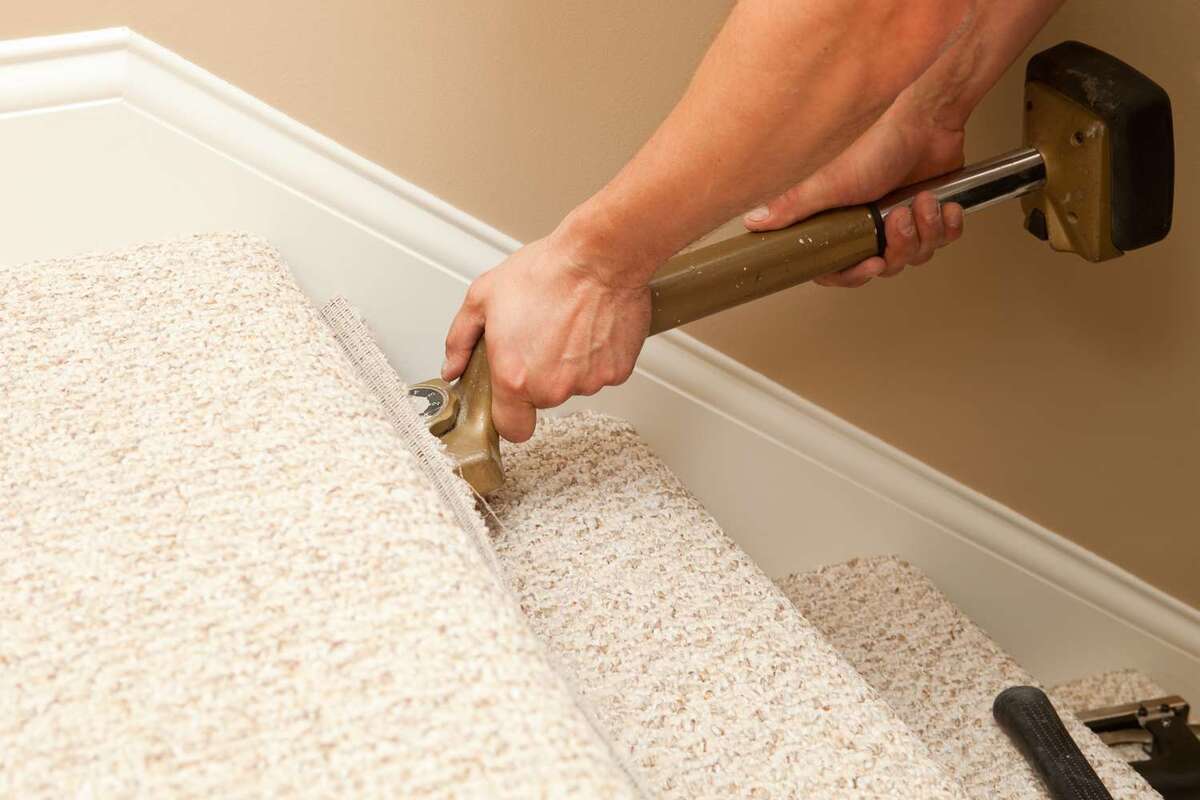
Now that you have securely fastened the carpet onto the risers, it’s time to attach the runner to each tread using either a knee kicker or power stretch tool. Start at the top of the stairs and make sure that each rug is centred.
Using a knee kicker or power stretch tool will help you pull the runner tightly over each tread, ensuring that there are no wrinkles or bubbles. This will not only make your stairs look more finished and professional, but it will also make them safer to walk on.
If you’re using a knee kicker, place the tool about 3 inches away from the top of the tread and give it a good kick with your knee. This will push the runner into place and help secure it to the tread. Repeat this process for each tread, making sure to pull the runner tightly to avoid wrinkles or bubbles.
If you’re using a power stretch tool, attach the tool to the runner and use it to stretch the runner over each tread. This will help you achieve a tight and smooth runner across the entire staircase.
Once you have attached the runner with staples, make sure to hammer down all the staples on each step so that they are flat. This will prevent any accidents and ensure a secure and seamless installation.
Summary
Installing carpet on your stairs can be a challenging task, but with the right tools and techniques, you can transform your dull staircase into a stylish focal point of your home. To begin, you’ll need to fold the carpet up from the bottom riser and align it with the top of the next tread. Next, use a staple gun to fasten the carpet to the riser. Then, attach the runner to each tread using either a knee kicker or a power stretch tool. Finally, make sure to hammer down all the staples on each step so that they are flat. Following these steps will help ensure your carpet installation is secure and professional-looking.