As a Vancouverite, you understand that creating a warm and welcoming home that reflects the natural beauty of the West Coast is essential. One effective way to achieve this inviting atmosphere is by learning how to lay wood flooring on stairs. Transforming your stairs with wood flooring can be a rewarding DIY project, but it does require some special knowledge and techniques to ensure a successful outcome.
Why Stairs Can Be Tough to Work With
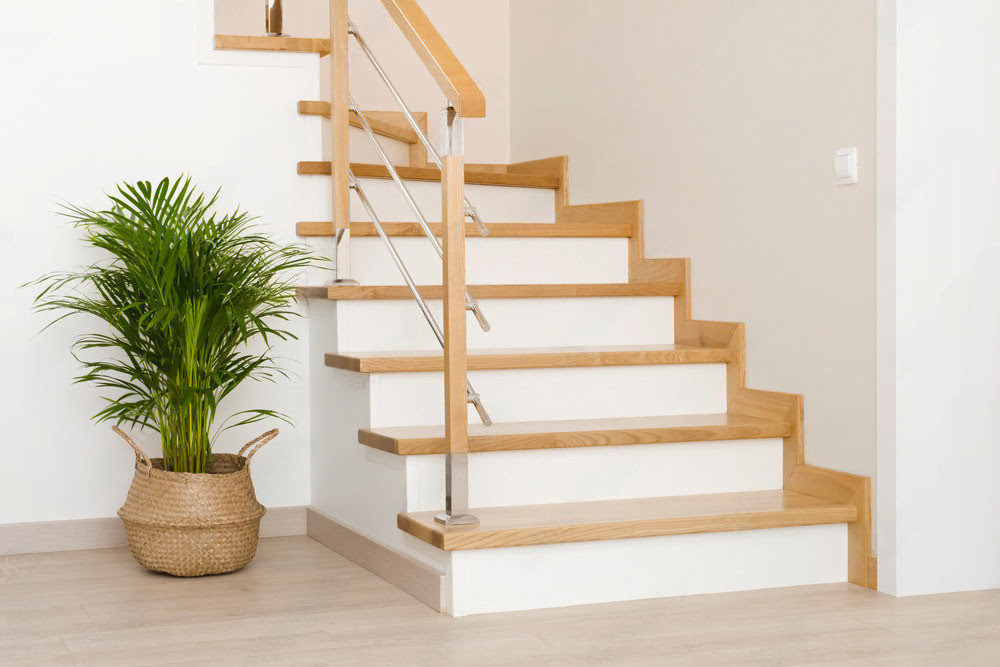
Putting flooring on stairs isn’t easy. Stairs are different from flat floors because they have treads (where you step) and risers (the upright part between steps). This special shape makes the job harder and means you need to use special methods to make sure the stairs are safe long-lasting, and good-looking.
What’s more, Vancouver’s mild but rainy weather brings its own set of problems. The city gets about 1,153 millimeters (45.4 inches) of rain, making it essential to deal with moisture issues in any flooring job. This means picking the right materials and installation methods is crucial to stop issues like warping or mould growth as time passes.
Choosing the Best Wood Flooring for Stairs
When you’re picking wood flooring for your stairs, you need to think about several key things:
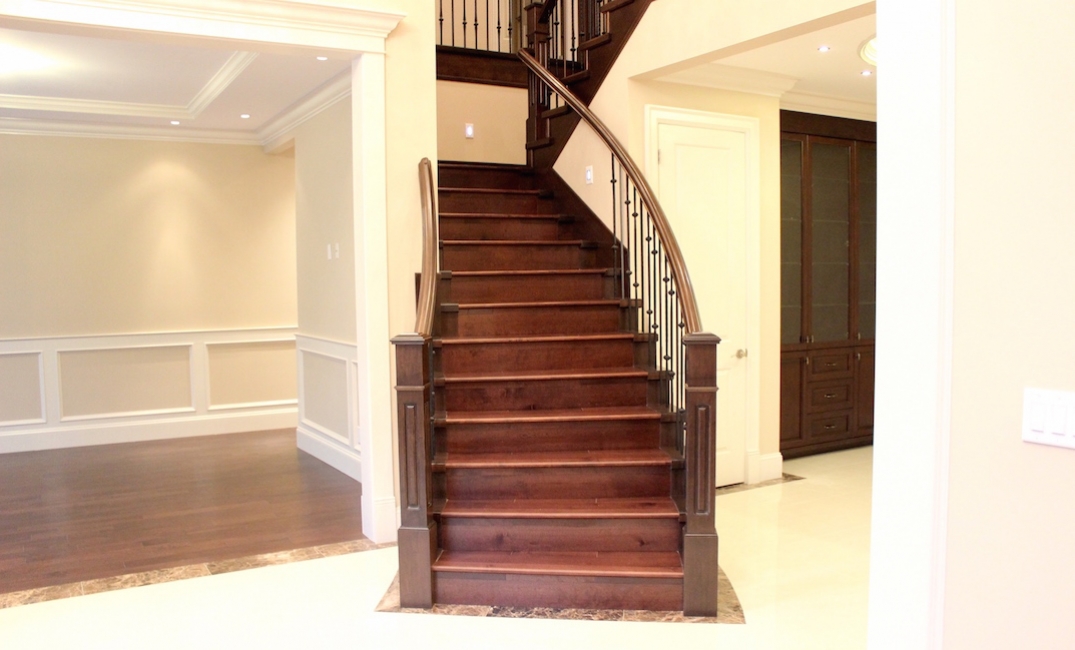
- Hardness: Stairs get a lot of foot traffic and wear, so you need to choose a hardwood type that can handle this level of use. Some of the toughest domestic woods are maple, oak, and hickory. These woods have a reputation for their durability and ability to resist dents and scratches.
- Thickness: For stairs, you should choose thicker wood flooring around 3/4 inch or 19 mm. Thicker boards have more strength and are less likely to bend or crack when used. This means your stairs will stay safe and look good for a long time.
- Finish: Stairs need a strong non-slip finish to boost safety. Look for pre-finished flooring with a matte or semi-gloss look, or think about applying a top-quality polyurethane finish after you install it. This will protect the wood and create a surface that’s less slippery.
- Grooving: Some wood flooring products made just for stairs have a grooved or textured surface. This feature improves grip and lowers the chance of slips and falls, making it a great choice for homes with kids or older folks.
Are you aware that trees native to the Pacific Northwest, like Douglas fir and Western red cedar are great choices for stair flooring? These woods are known for their durability long life, and beautiful look, which makes them ideal for your house.
Preparing the Stairs for Flooring Installation
Before you start to install the wood flooring, you need to get the stairs ready. This process involves several important steps:
- Clean the Area: Begin by taking out old flooring, carpet, or junk from the stairs. Make sure the surface is spotless and has no dust, dirt, or other stuff that might mess up the installation.
- Check the Stairs: Take a good look at the stairs to spot any damage or problems with their structure. Keep an eye out for shaky treads, busted risers, or signs of decay. Fix these issues before you start installing to make sure your new flooring has a strong base to sit on.
- Measuring and Planning: Take careful measurements of each step. This will help you figure out how much wood flooring you need and let you plan the layout well. Think about which way the wood grain should go and how it’ll look after you install it.
- Gathering Tools and Materials: Get all the tools and materials you need before you start. You might need things like a saw, glue, nails, a tape measure, and safety gear. Having everything ready will make the installation go smoother and help you avoid stopping in the middle.
If you stick to these steps, you’ll be on track to lay wood flooring on your stairs. This will add a good-looking and useful feature to your Vancouver home.
Getting the Stairs Ready for New Flooring
You now know the steps to prepare. Let’s look closer at the specific jobs you need to do to get your stairs ready for putting in the new wood flooring.
- Take off old flooring: Start by removing any carpet, vinyl, or other floor coverings on the stairs. Be careful during this process to avoid damaging the underlying structure of the stairs. Work to protect the wood or other materials that support the stairs.
- Check and fix stair treads and risers: After you take off the old flooring, take a close look at the treads and risers. Keep an eye out for any spots that are loose, broken, or uneven. They might need some work. Fix what’s needed to create a solid and safe base for the new flooring. This step is key to make sure the new wood flooring will have a stable and secure foundation.
- Clean the surface: Once the stairs are clear and you’ve made any fixes, it’s time to give the surface a good cleaning. Scrub the stairs well to get rid of any dirt, junk, or leftover stuff that could stop the new flooring from sticking right. A clean surface is a must for the installation to go well.
- Putting a moisture barrier in place (if you need to): Since Vancouver has a wet climate, it’s smart to think about using a moisture barrier to keep your wood flooring safe from possible water issues. You could go for a polyethylene sheet or a liquid vapour barrier to do this job. This step is key to stop moisture from getting into the wood, which could cause warping or other problems as time goes by.
Installing the Wood Flooring on Stairs
You can begin to put in the flooring now that you have readied the stairs. Here are the main steps:
- Measure and cut the wood flooring: Get the size of each tread and riser then cut the flooring to fit with a saw. Keep in mind to leave a small gap (1/4 inch or 6 mm) between the flooring and the wall to make room for expansion.
- Apply the adhesive: Choose a high-quality, stair-specific wood flooring adhesive and spread it on the tread and riser surfaces. A notched trowel works well for this job.
- Lay the flooring: Push the flooring pieces into the adhesive. Begin at the bottom of the stairs and move upwards. Make sure you offset the seams between nearby treads and risers.
- Secure the flooring: Your choice of product will determine whether you need finishing nails, a pneumatic nailer, or both to fix the flooring in place.
- Fill the gaps: Use wood filler matching the color to fill any gaps or seams between the flooring pieces. Then, sand the surface to make it smooth.
- Apply the finish: Allow the adhesive to cure. Then, apply a durable non-slip finish such as polyurethane or lacquer. This will protect the wood and enhance its appearance.
You may not realize it, but Vancouver is known for its stunning natural scenery. This includes the North Shore mountains, Stanley Park, and the picturesque harbour. When you incorporate wood flooring into your home’s design, it can help create a seamless connection between your indoor and outdoor spaces.
How to Take Care of Your Wood Stair Flooring
To keep your wood stair flooring beautiful and long-lasting, you need to maintain it properly. Regular cleaning and upkeep will ensure that your stairs remain an eye-catching feature in your home for a long time. Here are some useful tips to follow to preserve the appearance and durability of your wood stair flooring:
- Clean: Sweep or vacuum the stairs to remove dirt and debris. This material can wear down the finish over time. Cleaning often helps stop the buildup of grime that might scratch the surface and make your wood flooring less shiny.
- Deep clean: Every few months, use a wood floor cleaner and a soft-bristle brush to give the stairs a good scrub. This helps get rid of any grime or residue that’s collected over time. Be sure to follow the cleaner’s instructions to avoid hurting the wood.
- Apply new finish: You’ll probably need to put on a fresh protective coat every few years, based on how much people use your stairs. This keeps them from being slippery and makes them last longer. A new finish doesn’t just protect the wood — it also brings out its natural good looks, making your stairs seem brand new.
- Repair any damage: If you notice any scratches, dents, or other problems with the flooring, fix them right away. This prevents them from getting worse. Taking care of small damages can save you from bigger repairs down the road.
Final Thoughts
By following these steps and considering Vancouver’s unique climate and culture, you can lay wood flooring on your stairs. This will help you achieve a beautiful, long-lasting, and safe result that enhances your home’s overall appearance. Professional installation can ensure the best results. Remember, a little care goes a long way in preserving the charm and functionality of your wood stair flooring.