Vinyl plank flooring has become a popular choice for homeowners seeking to combine durability with aesthetic appeal. This type of flooring mimics the look of hardwood, stone, or ceramic tiles but offers a more affordable and resilient option. One of the primary reasons homeowners opt for vinyl plank flooring is its ease of installation. Unlike traditional hardwood flooring, which can be costly and time-consuming to install, vinyl planks can be laid down quickly and efficiently, even by DIY enthusiasts. This type of flooring is also known for its water resistance, making it an ideal choice for areas prone to moisture, such as kitchens and bathrooms.
Advantages of Choosing Vinyl Plank Flooring
Choosing vinyl plank flooring comes with several benefits that cater to both aesthetic and functional needs. First and foremost, it is highly durable. Vinyl planks are designed to withstand heavy foot traffic, making them suitable for busy households with children and pets. Additionally, they are scratch and stain-resistant, maintaining their appearance over time despite daily wear and tear.
Another significant advantage is the cost-effectiveness of vinyl plank flooring. Compared to natural materials like hardwood or stone, vinyl planks are much more affordable. This affordability does not compromise quality; instead, it provides an opportunity to achieve a luxurious look without breaking the bank. Furthermore, the ease of installation can further reduce costs, especially if you opt to tackle the project yourself.
Vinyl plank flooring also offers versatility in design. With a wide range of colours, patterns, and textures available, you can easily find a style that suits your taste and complements your home’s interior. Whether you prefer the rustic charm of wood or the sleek look of stone, vinyl planks can replicate these materials with impressive realism. This flexibility allows you to create the perfect ambiance in any room of your house.
Tools and Materials Needed for Installation
Before you start your vinyl plank flooring installation, gathering the necessary tools and materials is crucial for a smooth process. Here’s a checklist to help you get started:
Tools:
- Tape Measure: For accurate measurements of the room’s dimensions.
- Utility Knife: Used for cutting vinyl planks to the required size.
- Straight Edge/Ruler: Ensures straight cuts and alignment of planks.
- Rubber Mallet: Helps in tapping planks together without causing damage.
- Pull Bar and Tapping Block: Assists in fitting the planks tightly.
Materials:
- Vinyl Plank Flooring: Choose your preferred style and ensure you have enough coverage for the entire area.
- Underlayment (if necessary): Provides a smooth surface and may add a layer of cushioning.
- Adhesive (if required): Some vinyl planks need adhesive for secure placement, although many are designed for click-lock or floating installations.
- Transition Strips: Used for creating a seamless transition between different flooring types or rooms.
Having these tools and materials on hand will streamline the installation process, allowing you to focus on laying your vinyl plank flooring efficiently and effectively. Proper preparation ensures that you are equipped to handle any challenges that arise during installation.
Preparing the Subfloor for Vinyl Plank Flooring
A critical step in installing vinyl plank flooring is preparing the subfloor. Proper preparation ensures a smooth, even surface, which is essential for the longevity and appearance of your flooring. Begin by thoroughly cleaning the subfloor to remove dirt, dust, and debris. Sweeping and vacuuming are essential to prevent any particles from affecting the flooring installation.
Next, inspect the subfloor for any imperfections. Look for cracks, holes, or uneven areas that could interfere with the flooring. Depending on the condition, you may need to fill in gaps or sand down high spots to create a level surface. A perfectly flat subfloor is crucial to prevent vinyl planks from shifting or popping up over time.
If your subfloor is made of concrete, check its moisture content. Excess moisture can lead to issues such as mold growth or adhesive failure. Conduct a moisture test and, if necessary, apply a moisture barrier to protect your new flooring. Taking these precautions will ensure a successful installation and help maintain the integrity of your vinyl plank flooring for years to come.
Step-by-Step Guide on How to Install Vinyl Plank Flooring
1. Plan Your Layout:
- Start by measuring the room to determine the number of planks needed. Plan the layout to avoid narrow planks at the walls, which can be visually unappealing. Stagger the joints by at least 6 inches to create a natural look and enhance stability.
2. Acclimate the Planks:
- Allow the vinyl planks to acclimate to the room’s temperature and humidity for at least 48 hours. This step helps prevent expansion or contraction post-installation.
3. Install the Underlayment:
- If your flooring requires an underlayment, roll it out across the subfloor and trim it to fit. Ensure the seams do not overlap and tape them down if necessary to keep the underlayment in place.
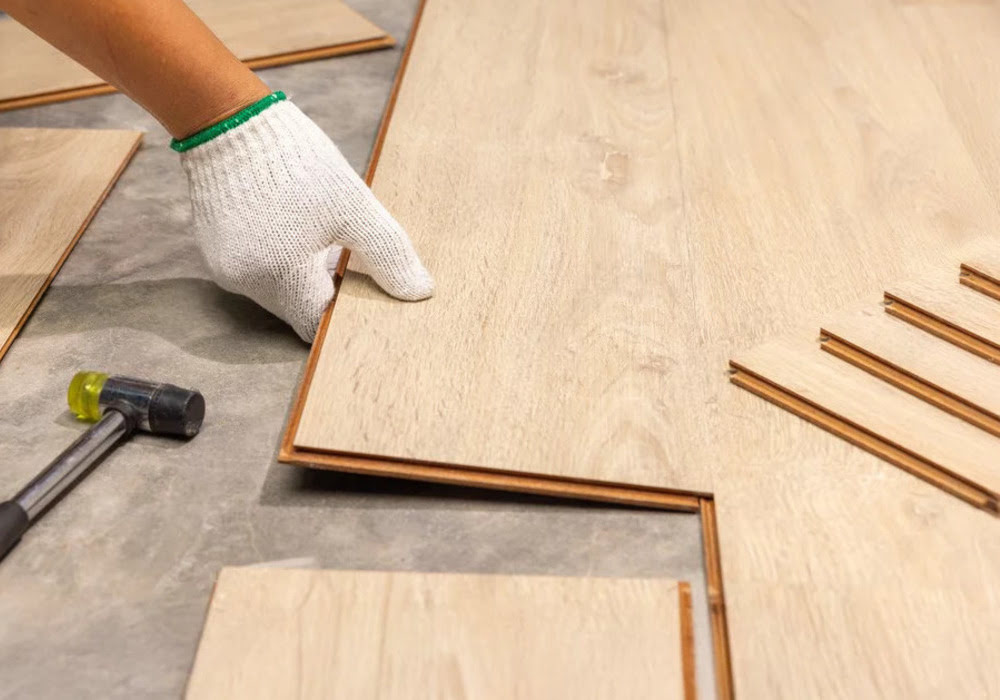
4. Begin Laying the Planks:
- Start from a Corner: Begin in a corner of the room, laying the first row of planks with the tongue side facing the wall. Use spacers to maintain an expansion gap of approximately 1/4 inch around the perimeter.
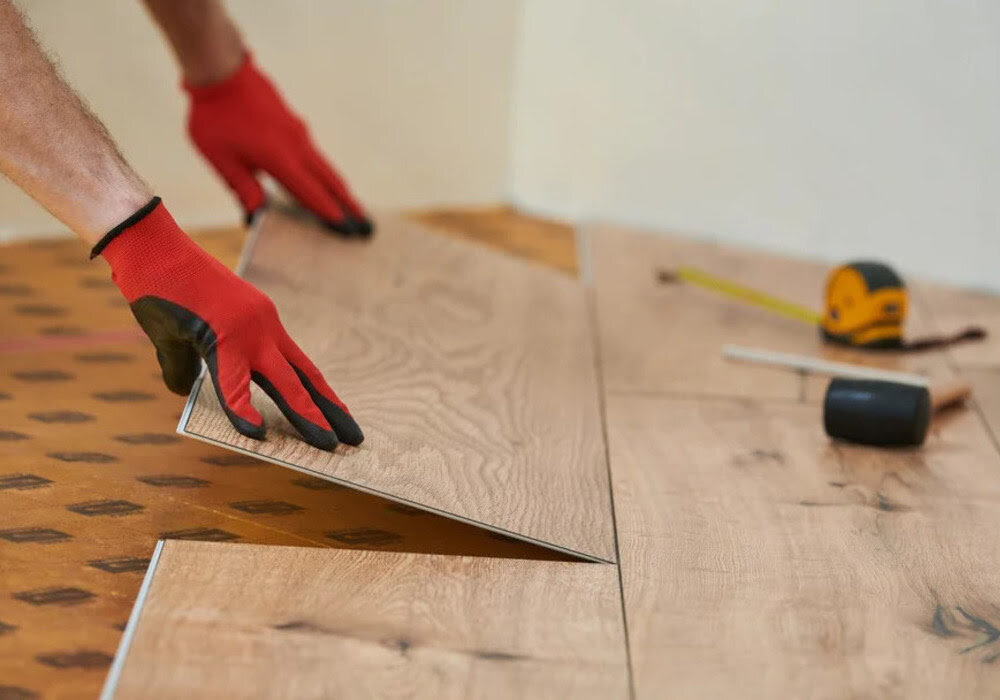
- Click-Lock Installation: If using click-lock planks, connect the edges by angling and snapping them together. Use a rubber mallet and tapping block to secure the joints without damaging the planks.
- Cutting Planks: Measure and cut the last plank of each row to fit. Use a utility knife and straight edge for precise cuts.
5. Complete the Installation:
- Continue laying the planks row by row, ensuring they fit snugly together. Remember to stagger the seams for a seamless appearance. Once the flooring is completely installed, remove the spacers and install transition strips where needed.
6. Final Touches:
- Inspect the flooring for any gaps or misaligned planks. Make necessary adjustments, then enjoy your newly installed vinyl plank flooring.
Common Mistakes to Avoid During Installation
Avoiding common mistakes can make your vinyl plank flooring installation more successful and long-lasting. One frequent error is failing to acclimate the planks before installation. Skipping this step can lead to issues with expansion and contraction, potentially causing gaps or buckling.
Another mistake is neglecting to prepare the subfloor adequately. Installing vinyl planks over a dirty or uneven surface can result in poor adhesion and an uneven appearance. Always ensure the subfloor is clean, dry, and level before beginning the installation process.
It’s also essential to pay attention to the manufacturer’s instructions. Each brand may have specific guidelines regarding installation methods and required materials. Ignoring these instructions can lead to improper installation and void warranties. Taking the time to read and follow the guidelines will help you achieve the best results.
Summary
Installing vinyl plank flooring is a rewarding project that can transform the look and feel of your home. The durability, affordability, and aesthetic versatility of vinyl plank flooring make it an excellent choice for any room in your house. Once your new floors are installed, you’ll appreciate the ease of maintenance and the inviting atmosphere they create. Regular cleaning with a broom or mop will keep them looking fresh and new. With proper care, your vinyl plank flooring will remain a beautiful and functional part of your home for many years.