Most concrete floors do not derail a flooring job because they are obviously bad. Usually it is the opposite. They are just uneven enough, in just the wrong places, to cause trouble later. The slab looks fine when the room is empty. Then the new floor goes in and you start getting joint stress, hollow spots, telegraphing, or lippage.
At BC Floors, we run into this a lot on Vancouver projects. Homeowners usually focus on the finished floor first, which makes sense. But the real decision often starts lower down: is the concrete actually flat enough, dry enough, clean enough, and sound enough for the flooring you picked?
How Flat Should a Concrete Floor Be Before Flooring Installation?
For many wood, laminate, and resilient flooring products over concrete, the common target is around 3/16 inch within 10 feet or 1/8 inch within 6 feet, but the real answer is always the flooring manufacturer’s installation guide for that exact product. NWFA’s jobsite checklist for concrete subfloors uses that same concrete flatness benchmark, and many resilient/floating product guides follow a similar range.
That does not mean every floor covering accepts the same slab. Tile can be less forgiving, especially as tile size increases. Large-format tile guidance commonly tightens the substrate requirement to 1/8 inch in 10 feet and 1/16 inch in 2 feet, which is one reason a slab that seems acceptable for one floor may be out of spec for another.
So that is the short answer. Before flooring installation, the concrete needs to be flat enough for the product, not just “pretty close” by eye. If the installer cannot tell you the tolerance being used or how it was checked, the job is not really at approval stage yet.
Flat vs. Level: What Actually Matters Before Installation
This is where homeowners get mixed up all the time. They hear “the floor needs to be level,” when what usually matters most is flatness. A slab can slope gently from one side of the room to the other and still be installable if it stays within the product’s flatness tolerance. The real problem is not the slope by itself. It is the high spots, low spots, ridges, patch humps, and abrupt changes that force the new floor to bend, bridge, or lose contact.
And that matters in real homes. A basement slab can pitch slightly toward a drain or an exterior side and still perform fine with the right flooring if the surface is flat enough. The opposite is what catches people. A slab can look fairly level to the eye and still fail because it has localized dips and crowns that only show up once someone checks it with a straightedge.
That is why guesswork causes so many avoidable problems. A quick visual walk-through tells you very little about whether the slab is within tolerance. A 10-foot straightedge tells you much more, because it exposes the gaps, rocking points, and unsupported areas that the finished floor will feel later. NWFA’s checklist separates “floor measured for flatness” from moisture testing and asks whether the results are within tolerance, which is the right way to look at it.
How Flat a Concrete Floor Needs to Be for Different Flooring Types
This is where the answer stops being generic. Different flooring types do not handle concrete irregularities the same way.
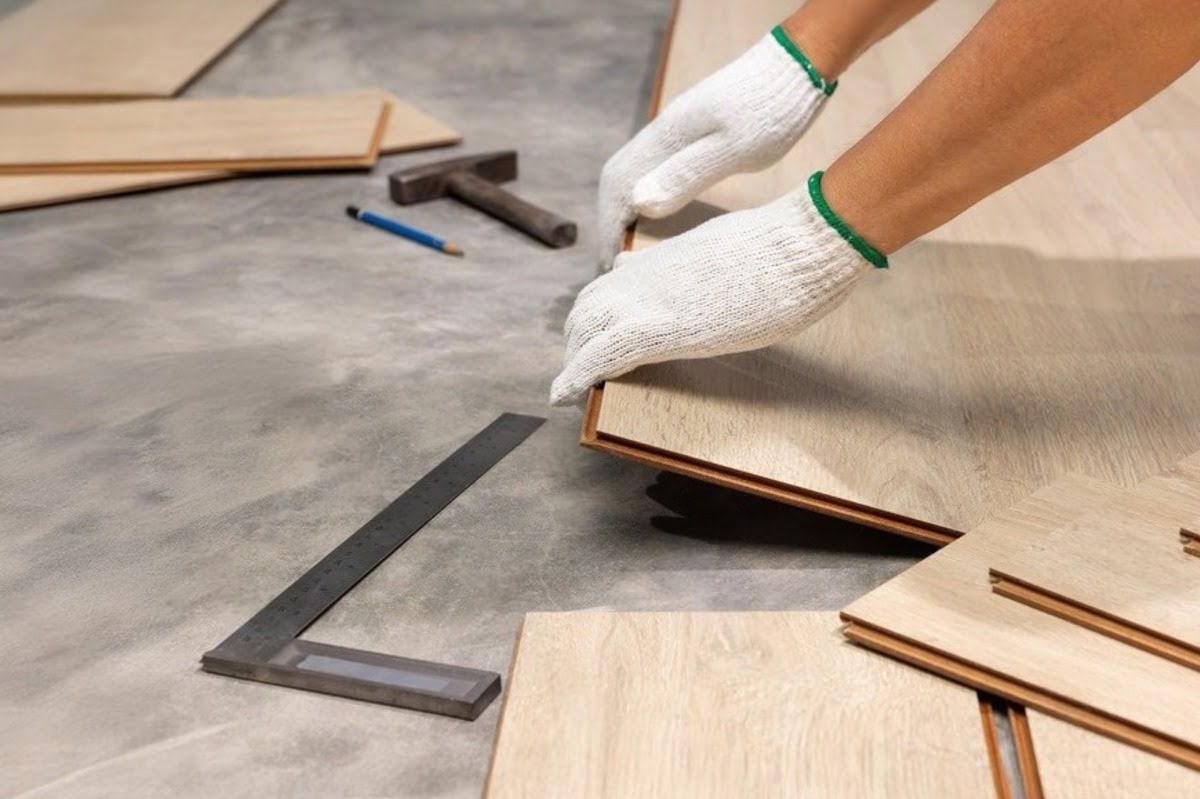
Floating floors such as laminate, SPC, click-lock vinyl, and some engineered hardwood are often misunderstood here. People hear “floating floor” and assume it will hide uneven concrete. Usually not. If the slab has dips or humps, the floor can span those areas, flex over time, and start stressing the locking system. That is where movement, noise, joint stress, and soft spots show up. Many floating-floor manufacturer guides still call for subfloors to be flat within roughly 3/16 inch in 10 feet and 1/8 inch in 6 feet.
Glue-down floors are different. They do not flex the same way, but they are often less forgiving at the surface. Ridges, low spots, adhesive residue, paint overspray, or weak dusty concrete can affect bond quality and telegraph through thinner materials. That is why resilient flooring guidance commonly points back to ASTM F710-style substrate preparation and to flat, dry, clean, smooth, structurally sound conditions.
Engineered hardwood over concrete needs more caution than many homeowners expect. Flatness still matters, but moisture matters too. That is where these jobs often go sideways: the slab is not flat enough, and moisture was never treated as a separate approval step.

Tile is less forgiving, especially in larger formats. Longer edges make humps and dips more visible, which is where lippage, poor mortar contact, cracked grout, and uneven plane show up. Published tile guidance tightens substrate flatness for larger tile because the finish surface exposes slab defects more aggressively.
How Flooring Type Changes Concrete Flatness Requirements
This is where the answer stops being generic. Different floors tolerate concrete irregularities very differently. The same slab can be acceptable for one product and rejected for another.
| Flooring Type | Flatness Sensitivity | What Commonly Goes Wrong if the Slab Is Out of Spec |
|---|---|---|
| Floating vinyl / SPC / laminate | Moderate to high | Joint stress, movement, noise, soft spots, edge fatigue |
| Engineered hardwood over concrete | High | Deflection, hollow feel, movement, uneven support, moisture-related risk if slab readiness was incomplete |
| Glue-down vinyl or wood | High | Telegraphing, poor bond, hollow areas, adhesive-related failure, visible surface irregularities |
| Standard tile | High | Lippage, uneven finish, weak support in isolated areas |
| Large-format tile | Very high | More visible lippage, poor plane alignment, cracked grout, tighter prep demands |
The thinner, stiffer, or more visually exacting the floor is, the less it forgives slab defects. That is why the same concrete can be acceptable for one product and rejected for another.
If you are still comparing products during planning, this is also where the slab should influence the flooring choice, not just the other way around. In some homes, especially older condos or basements, the smarter question is not “Which floor do we like most?” but “Which floor still makes sense once the slab is honestly checked?” That is one place where vinyl flooring installation, laminate flooring installation, or engineered hardwood flooring decisions need to stay tied to substrate reality, not just appearance.
How to Check Whether a Concrete Floor Is Flat Enough
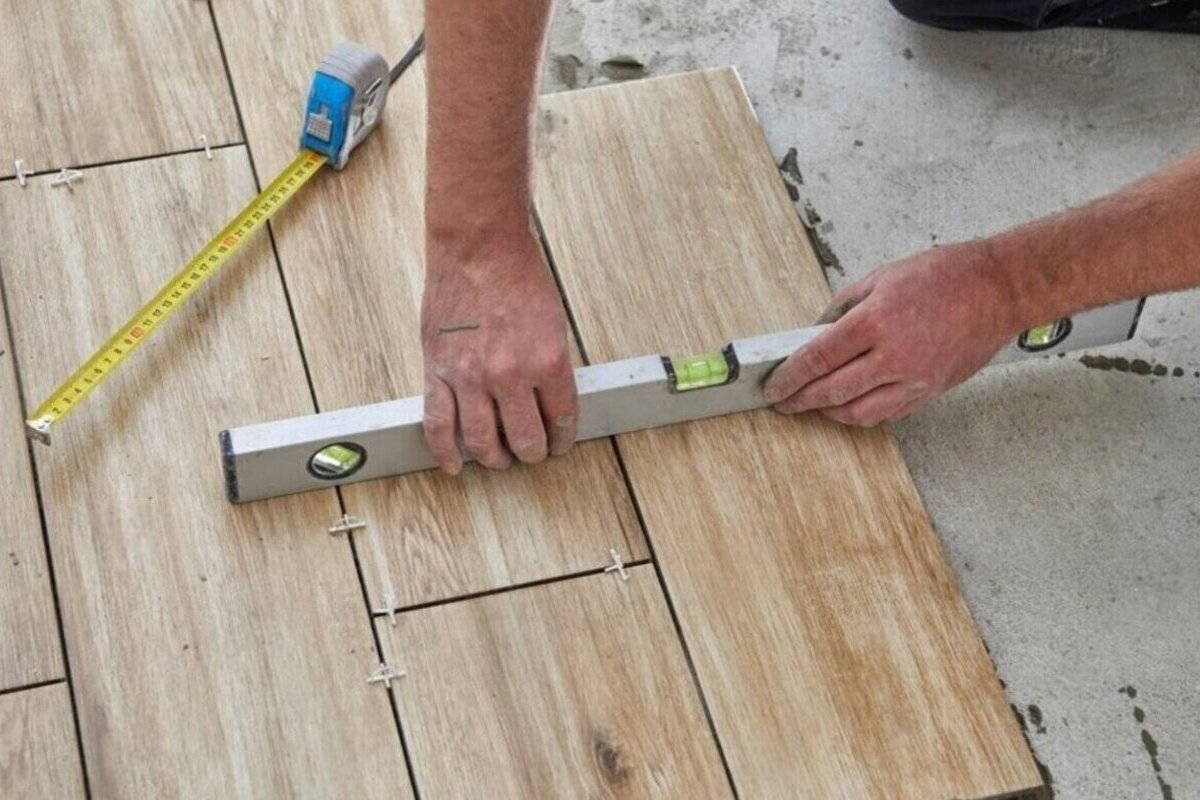
The basic method is simple: use a long straightedge and measure the gap from the high points, in multiple directions, across the areas that will actually receive flooring. Sounds simple until you put the straightedge on the slab.
A concrete floor can look flat from standing height and still fail once a straightedge crosses a hump at a doorway, a dip near a patched area, or a shallow wave running through the middle of the room. We see this all the time after old flooring comes out. The slab underneath looked “fine” while it was covered. Once exposed, it starts showing feathered patch marks, adhesive ridges, low spots near the perimeter, or isolated repairs that never got brought back into plane.
NWFA’s checklist specifically asks whether the concrete floor was measured for flatness, what method was used, whether high spots were ground, whether low spots were floated, and whether the results were within 3/16 inch in 10 feet or 1/8 inch in 6 feet. That is a good jobsite mindset because it treats slab prep as something measured and documented, not something assumed.
A quick visual check still has some value, sure, but only as a first pass. It can help spot obvious patch ridges, cracks, surface contamination, or places where light rakes across the slab and reveals a hump. It does not replace measurement. When an installer relies on “it looks pretty flat,” that is usually where late surprises start.
What Else Matters Besides Flatness
Moisture, cleanliness, and slab condition
Flatness is only part of slab readiness. The concrete also needs to be dry enough for the flooring system, clean enough for proper bond or support, and sound enough that patches, primers, adhesives, or underlayments are not sitting on a weak surface. ASTM F710 is commonly referenced for resilient flooring concrete preparation, and manufacturer guides built on that standard call for a concrete subfloor that is dry, clean, smooth, flat, and structurally sound.
Moisture is where people get overconfident fast. They touch the slab, it feels dry, and they move on. That is not how slab readiness works. Moisture and flatness are separate checks. A slab can pass flatness and still fail moisture.
Cleanliness matters for a different reason. Old adhesive residue, paint overspray, dust, curing compounds, oils, and weak chalky concrete do not just make the floor messy. They interfere with bonding and prep materials. Even when the finished floor is floating, the slab surface still matters because ridges and debris can create localized support problems. For glue-down flooring, the consequences are more direct: poor transfer, bond loss, or defects telegraphing through the face of the floor.
Cracks and previous patch areas also deserve attention. Not every crack is a stop-work issue, but cracks, delaminated patches, and soft surface layers are signs that the slab may need more than a cosmetic skim. That is one reason concrete floor preparation and floor levelling should be treated as real scope, not as a minor add-on at the end. If you want a broader look at how different types of subfloor affect flooring performance, this is a good place to start.
Why Vancouver conditions change the risk
Vancouver is not the easiest market to be casual about slabs. Environment and Climate Change Canada’s climate normals for the Vancouver area show high relative humidity and substantial precipitation, which helps explain why below-grade spaces, basements, entry zones, and older renovation slabs often deserve a more careful look here than they would in a drier interior market.
That does not mean every Vancouver slab is a problem. It means local conditions make it easier for moisture assumptions to go wrong. On real flooring projects, that often shows up in basement renovations, condos with old flooring layers removed, or ground-level rooms where tracked-in moisture and past patching have left the slab less predictable than it first seemed.
Older Vancouver homes add another layer to this. Once carpet, old vinyl, or glue-down material comes out, hidden substrate issues often show up late: adhesive film that never fully came off, isolated repairs, brittle patching, surface dusting, or a slab that is flatter in one half of the room than the other. This is where homeowners underestimate disruption – and yes, this is where people get caught off guard. The delay is usually not the flooring itself. The delay is finding out too late that the slab was never really ready.
What Happens If the Concrete Is Not Flat Enough
Common problems after installation
When flooring goes over concrete that is out of spec, the failure is not always dramatic. Sometimes it starts small. The floor clicks when you walk over one lane. A joint opens and then closes seasonally. A plank edge starts feeling sharp. A hallway sounds hollow. Tile edges catch light differently than they should.
Those are not random annoyances. They usually trace back to support problems. Floating floors can flex over low spots and start stressing the locking system. Glue-down floors can lose uniform contact or telegraph slab irregularities. Tile can show lippage or weak support under edges. Different finish floor, same underlying problem.
This is also where underlayment gets misunderstood. Underlayment can help with sound, minor surface texture, or product-specific assembly requirements. It does not automatically fix a slab that is out of flatness tolerance. If the concrete is meaningfully uneven, the finished floor still has to live on top of that geometry.
Another practical issue is warranty. When the slab was not prepared to the manufacturer’s published requirements, the conversation after failure gets short pretty fast. That is why good installers document the substrate condition before installation instead of trying to “make it work” and hope the floor settles in.
Grinding, patching, and self-levelling
The correction method depends on the problem. High spots usually get ground down. Low spots usually get patched or filled. Wider or more continuous irregularity may call for a self-levelling or broader resurfacing approach. The mistake is treating all three as if they are the same thing.
Grinding solves height. It removes ridges, crowns, old patch humps, and isolated proud areas. It does not help a low area. Patching solves localized dips and transitions. It does not correct a room-wide wave by itself. Self-levelling materials help when the slab is consistently out of plane over a larger area, but they are not a magic shortcut for every floor or every substrate condition.
That distinction matters because homeowners often hear “we’ll just level it” as though it were one simple step. In practice, good prep is more targeted than that. We may grind one side of a doorway, patch a depression near the centre, then skim and smooth a transition area so the finished floor has continuous support. The prep should match the defect, not the other way around.
Sometimes the right call is to pause the flooring job until the slab is actually ready. That is not overkill. To be honest, it is usually cheaper and cleaner than forcing installation over a substrate that is already telling you it is not there yet.
Questions to Ask Before You Approve Flooring Installation
Before you approve the installation, ask a few direct questions.
- What flatness standard are you using for this exact product? The answer should reference the manufacturer, not just habit or preference.
- How was the slab checked? A real answer mentions a straightedge, measured gaps, and where the problem areas were found.
- Was moisture checked separately from flatness? Those are different approvals, and one does not replace the other. NWFA’s checklist treats them separately for a reason.
- What prep is included, and what is extra? This is where hidden costs show up. Grinding, patching, residue removal, moisture mitigation, or broader floor levelling work should not be fuzzy line items.
- If the slab fails, what happens next? Good projects have an answer before materials start going down.
- Will the slab condition be documented before installation? A few photos, notes, and measured results can prevent a lot of argument later.
That is usually the difference between a smooth flooring job and a frustrating one. Homeowners do not need to become slab experts. They do need to know that “flat enough” is a measured condition tied to the product, that moisture and surface condition matter alongside flatness, and that some jobs should wait until the concrete is truly ready.