Installing engineered hardwood might seem like a task best left to professionals, but with the right guidance and tools, it’s a rewarding DIY project that can save you thousands in installation costs. Whether you’re renovating your first home or upgrading your existing space, engineered hardwood flooring offers the perfect blend of durability and aesthetic appeal. In fact, many homeowners choose this option because it’s more stable than traditional hardwood and can be installed in areas where solid wood isn’t recommended.
Engineered Hardwood Flooring Basics
Before diving into the installation process, understanding what engineered hardwood actually is will help you make informed decisions throughout your project. Unlike its solid wood counterpart, engineered hardwood offers unique characteristics that make it particularly suitable for certain environments and installation methods.
– How Engineered Hardwood Differs from Solid Hardwood
Engineered hardwood consists of multiple layers bonded together, rather than a single piece of wood. The top layer is a thin veneer of real hardwood (typically 1–3mm thick), while underneath you’ll find high-quality plywood layers arranged in a cross-grain pattern. This layered construction creates the floor’s distinctive properties.
Solid hardwood, conversely, is milled from single pieces of timber. While both provide the beautiful appearance of natural wood, their structural differences affect everything from installation possibilities to long-term performance. The plywood core in engineered flooring significantly improves dimensional stability. The cross-hatched plies resist expansion and contraction that naturally occurs with humidity and temperature changes. This makes engineered hardwood less prone to warping, cupping, or buckling compared to solid wood options.
Another key difference lies in refinishing potential. Solid hardwood can typically be sanded and refinished approximately ten times over its lifetime. Engineered hardwood’s refinishing capacity depends entirely on the thickness of its wear layer — most can only be refinished once or twice before the veneer layer is exhausted.
– Why Choose Engineered Hardwood For Your Home
Engineered hardwood offers numerous advantages that make it increasingly popular among homeowners:
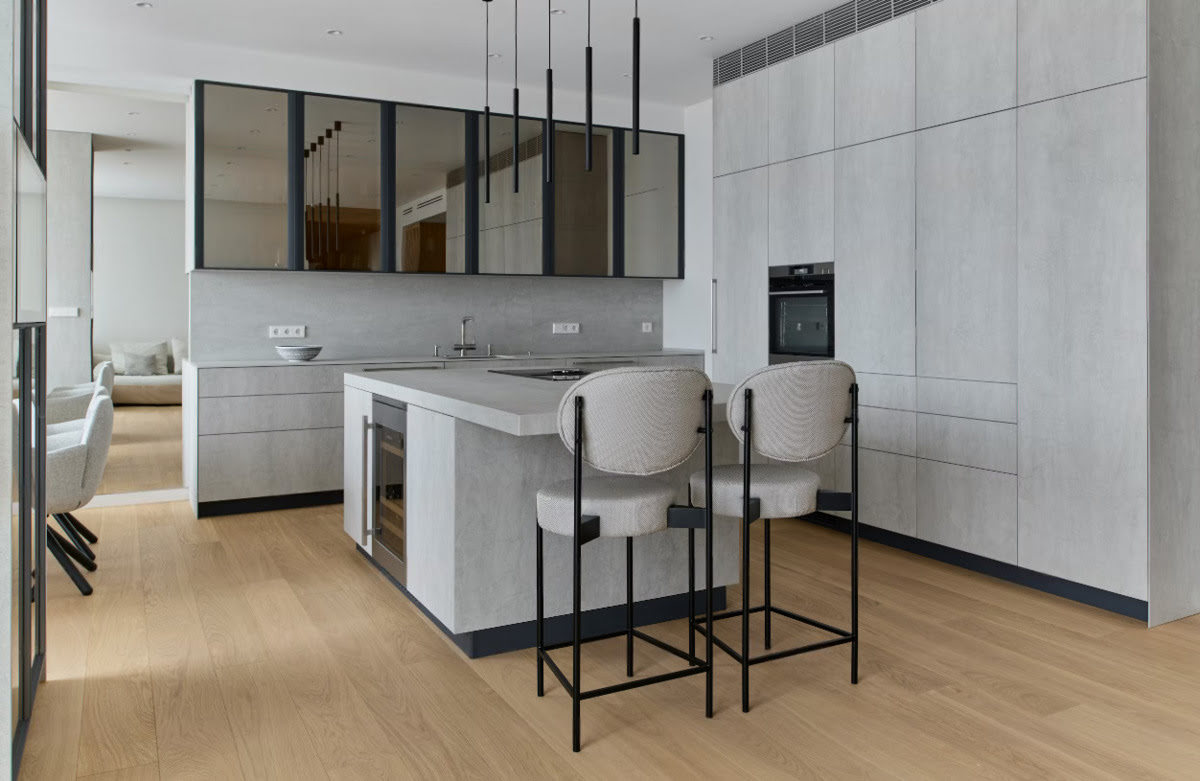
- Superior moisture resistance: The layered construction makes engineered hardwood more resistant to humidity and moisture, making it suitable for basements, bathrooms, and kitchens where solid hardwood would be problematic.
- Versatile installation options: Unlike solid hardwood, engineered products can be installed using various methods including floating (click-lock), glue-down, or nail-down techniques. This versatility makes it appropriate for concrete subfloors or over radiant heating systems.
- Environmental considerations: Engineered hardwood is generally more eco-friendly since it uses less slow-growing hardwood per board — only the top veneer requires premium timber while the core uses fast-growing wood or recycled materials.
- Cost efficiency: Though prices vary by quality, engineered hardwood typically costs less than solid hardwood, with prices ranging from $6 to $22 per square foot.
- DIY-friendly: The click-lock systems available in many engineered products make installation significantly easier for homeowners with basic tools and skills.
– Common Types and Styles Available
Today’s engineered hardwood market offers diverse options to suit various preferences and needs. The primary classifications are based on core construction and top veneer species.
Core construction types significantly impact performance:
- Plywood-core engineered flooring provides excellent dimensional stability due to its cross-layered construction. Higher quality products feature 9–11 layers of void-free plywood for superior performance.
- High-density fibreboard (HDF) cores offer uniform strength at generally lower prices, while SPF cores (spruce, pine, fir) provide a balance of flexibility and durability.
Wood species options continue to expand, with oak remaining the most popular choice due to its classic appearance and durability. Additionally, hickory offers exceptional hardness with distinctive grain patterns, while maple provides a clean, contemporary look with excellent wear resistance. For unique aesthetics, exotic options like Brazilian cherry command premium prices but deliver striking visual impact.
Width options have expanded considerably, with many manufacturers now offering wider planks (7–7.5 inches) that create a more contemporary look. These wider boards showcase more of the wood’s natural character and can make spaces appear larger.
Finish technologies have also advanced, with many products now featuring 7–9 protective coats that enhance durability while requiring minimal maintenance. UV-resistant finishes prevent fading, making engineered hardwood suitable for sunny rooms where solid hardwood might discolour over time.
Planning Your Installation Project
Successful installation of engineered hardwood flooring starts with thorough planning. Without proper preparation, you might end up with insufficient materials, budget overruns, or a project that exceeds your technical abilities. Let’s break down the essential planning components to ensure your flooring project goes smoothly.
– Measuring & Calculating Materials
Accurate measurements are crucial when ordering engineered hardwood flooring. Start by measuring the length and width of each room where you’ll install flooring. Multiply these numbers to calculate the square footage.
For rectangular rooms, this calculation is straightforward. However, for oddly shaped spaces:
- Divide the area into manageable rectangular sections
- Calculate each section separately
- Add the sections together for your total square footage
After determining your exact square footage, add a waste factor to account for cuts, mistakes, and potential future repairs:
- 5–7% extra for straight-course installation
- 10% extra for standard installation with some cuts
- 15% extra for complex installations with many angles or herringbone patterns
Flooring Project Budgeting
When planning your budget, consider all potential costs involved in your engineered hardwood installation project. The overall cost typically ranges from $2,700 to $9,400 for an average project.
The primary expenses include:
- Materials: Engineered hardwood flooring costs approximately $4 to $22 per square foot. This varies based on wood species, quality, plank width, and thickness.
- Labour: If hiring professionals, expect to pay about $4 to $11 per square foot for installation. Labour rates vary by location and company, so get multiple quotes to compare.
Additional costs to anticipate:
- Underlayment materials (except for glue-down installations)
- Subfloor repairs or levelling ($670–$1,070)
- Removal of existing flooring ($200–$340 for carpet)
- Finishing costs ($2.70–$9.40 per square foot if not pre-finished)
- Possible joist repairs ($2,700–$6,700 if damaged)
To ensure the best results and accurate pricing, consult with professional experts for an estimate tailored to your specific needs.
Installation Methods by Skill Level
Four main installation methods exist for engineered hardwood, each requiring different skill levels and suitable for different situations.
Floating installation is typically the most DIY-friendly approach. This method involves connecting planks to each other (not the subfloor) using tongue-and-groove connections glued together or click-lock mechanisms. Ideal for beginners, this method requires minimal special tools but is best suited for residential, low-traffic areas.
Glue-down installation works well over concrete subfloors. Though more time-consuming and potentially messy for inexperienced installers, modern adhesives have minimal odour issues. This method provides excellent stability and allows installation without transitions across large areas.
Nail-down/staple installation requires a wood subfloor and more specialized tools like pneumatic nailers or staplers. Nevertheless, many DIYers find this method creates a secure installation with tight seams. The power of the stapler helps tighten boards further as it shoots staples approximately every 6 inches.
Consider your subfloor type, room location, and comfort with tools when selecting your installation method. Although floating installation might seem easiest initially, nail-down installation might provide better long-term results in high-traffic areas or larger rooms. Remember that installation in rooms with many odd angles, obstacles, or special features like floor registers will significantly increase project complexity. Allow at least two days to complete your installation, and plan for the 24-hour waiting period before walking on new flooring.
Essential Tools and Materials Checklist
Having the right tools and materials at your fingertips is crucial for a successful engineered hardwood installation project. The proper equipment not only makes the job easier but also ensures professional-quality results.
– Essential Installation Tools
Regardless of which installation technique you choose, certain tools are essential for installing engineered hardwood. These include:
- Safety equipment: Safety glasses, knee pads, and work gloves protect you during the installation process.
- Measuring tools: Tape measure, straightedge, and chalk line help ensure accurate layout and cuts.
- Cutting tools: Table saw or tile cutter for length cuts and a jigsaw for fitting around obstacles.
- Installation aids: Spacers (1/4″) to maintain expansion gaps, tapping block, and rubber mallet for securing planks together.
Most importantly, you’ll need a level to check subfloor evenness and a shop vacuum or broom for cleanup. Furthermore, a utility knife and pull bar will help with final adjustments and tight fits against walls.
– Tools for Specific Methods
Specifically for floating installations, you’ll need tongue and groove glue if your engineered hardwood doesn’t have a click-lock system. For glue-down installations, a notched flooring trowel is essential for applying adhesive evenly. You’ll also need cleaning gloves and a bucket for adhesive cleanup. Meanwhile, nail-down installations require a pneumatic flooring nailer and air compressor. The Powernail 2000 is specifically designed for engineered floors. For staple installations, you’ll need a staple gun and matching wood putty to conceal fasteners.
– Choosing the Right Underlayment
Underlayment serves as an unsung hero beneath your beautiful new floor. This thin layer between your subfloor and engineered hardwood provides multiple benefits, including sound insulation, moisture protection, and added comfort.
Common underlayment materials include:
- Foam underlayment offers excellent sound absorption and usually includes a moisture barrier, making it ideal for installations over concrete.
- Cork underlayment provides superior insulation and sound-deadening properties while being environmentally friendly.
- Additionally, felt underlayment creates excellent noise reduction and naturally resists moisture.
The right underlayment can significantly extend your flooring’s lifespan by cushioning the planks from the subfloor, reducing stress on the boards when walked upon. For basements or ground floors prone to moisture, underlayment with vapor barrier properties is essential to prevent water damage.
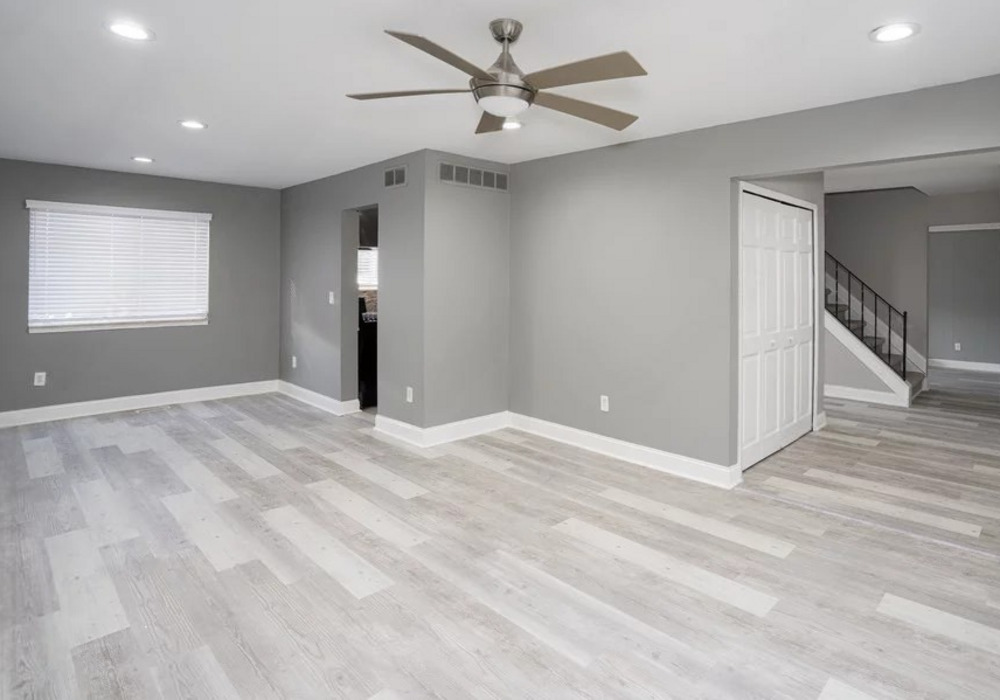
Preparing Your Space for Installation
Proper preparation is the foundation of a successful engineered hardwood installation. Taking time for these essential steps will prevent costly mistakes and ensure your new flooring performs beautifully for years.
– Properly Acclimating Your Flooring
Acclimation synchronizes your flooring’s moisture content with your home’s environment, preventing future warping or gapping. Throughout the acclimation period, maintain room temperature between 60-80°F and relative humidity between 35-55%. For engineered hardwood, place unopened boxes in the installation room for a minimum of 48-72 hours. Unlike solid hardwood, many engineered products should remain in their original packaging during acclimation. This allows the wood to adjust gradually without warping. If you need to expedite acclimation, you can carefully remove planks from boxes and space them ½ inch apart on cardboard strips, increasing air circulation.
– Subfloor Inspection & Preparation
Before installation, inspect your subfloor thoroughly. Check moisture content using a moisture meter—wood subfloors should have no more than 13% moisture content. For wood-on-wood installation, the subfloor moisture should be within 4% of the flooring’s moisture content. Test for flatness using a 10-foot straightedge—the maximum acceptable deviation is 3/16 inch. Sand high spots and fill low areas with leveling compound as needed. Fix any loose or squeaky boards by screwing them securely into floor joists. Clean the subfloor meticulously. For glue-down installations, sand away paint, adhesives, or sealers that might prevent proper bonding. Vacuum thoroughly to remove all dust and debris.
– Removing Old Flooring & Baseboards
Start by removing baseboards using a pry bar and hammer. Work carefully to preserve them for reinstallation later.
For carpet removal:
- Begin in a corner, cutting the carpet into 3-4 foot strips with a utility knife
- Roll up sections and secure with duct tape for disposal
- Remove tack strips with a pry bar and clear adhesive residue
When removing tile, use a hammer and chisel to break the first tile, then work under remaining tiles with a pry bar. For existing hardwood, start at a doorway using a wood chisel and hammer, then pry up planks and remove fasteners. Consequently, after removing old flooring, inspect the subfloor for damage or imperfections. Make any necessary repairs before proceeding with your engineered hardwood installation.
Step-by-Step Installation Process
Now it’s time to put your preparation into action. The actual installation process is where your engineered hardwood floor takes shape, transforming your space one board at a time.
– Laying the First Row
The first row sets the foundation for your entire floor. Place spacers along all walls to create a uniform expansion gap (typically ¼ inch). For a floating installation, set the first plank in the corner with the tongue facing the center of the room. When using glue-down methods, pour a small amount of adhesive—enough for two or three boards—and spread using a trowel at a 45-degree angle, ensuring the teeth touch the subfloor. For nail-down installations, face the tongue toward the room center and pre-drill holes about 1 inch from the wall at 3-4 inch intervals. Use finishing nails and a nail punch to countersink them, then fill holes with matching wood filler.
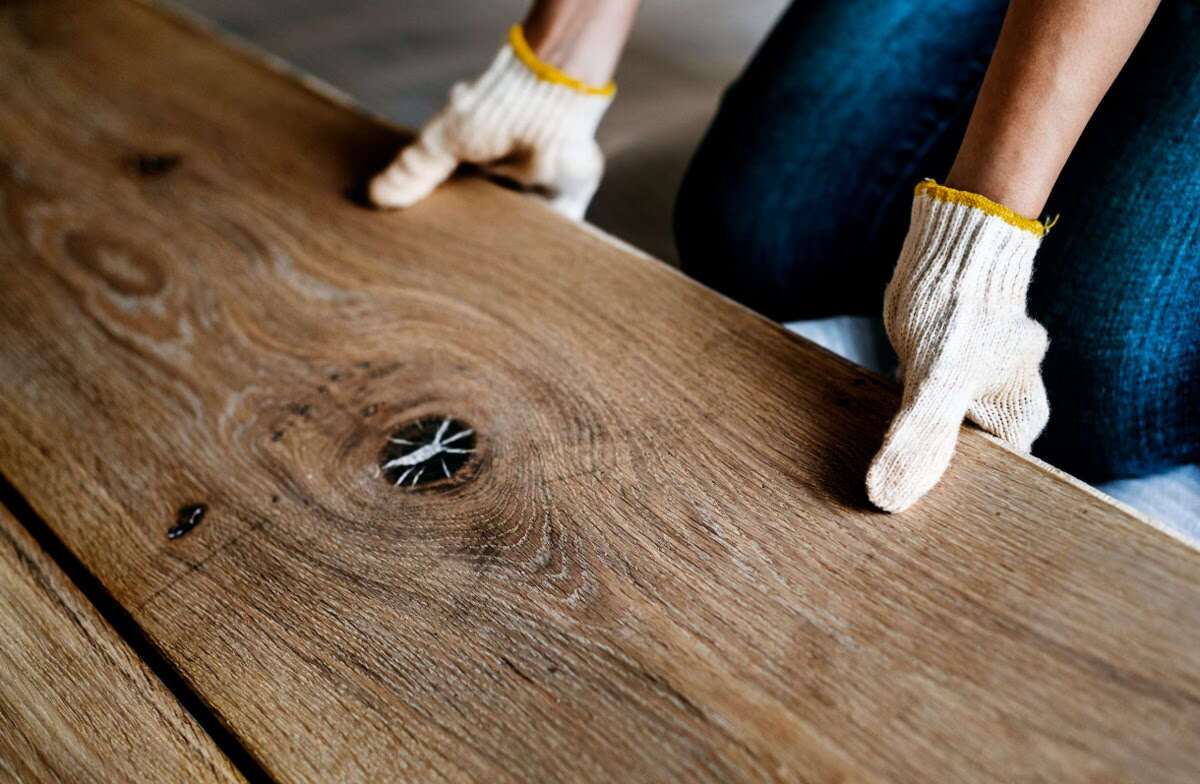
– Efficiently Installing the Floor
After establishing your first row, continue working from left to right. For floating installations, apply wood glue to tongue-and-groove seams if required. Tap the boards together using a tapping block and rubber mallet to ensure tight connections. Stagger end joints by at least 6 inches between adjacent rows to increase floor strength. This creates a more natural appearance and prevents weak points. For glue-down installation, work in small sections—about two or three rows at a time—to prevent adhesive from drying before boards are placed. For staple installations, drive staples every 3-4 inches at a 45-degree angle just above the tongue using a pneumatic stapler.
– Cutting Around Obstacles
Mark the cutting line on the top side of the plank using chalk or pencil. For straight cuts, use a table saw or circular saw. Cut with the finished side up to minimize splintering. For irregular cuts around doorframes or pipes, use a jigsaw. When measuring for cuts around obstacles, always measure twice and cut once. For doorways, undercut door casings to allow flooring to slide underneath for a clean finish. This eliminates the need for challenging cuts and provides a professional appearance.
– Laying the Final Row
Measuring the final row requires precision. Measure from the edge of the last installed board (not the tongue) to the wall, then subtract the expansion gap. If the last row will be less than 1 inch wide, consider trimming the first row to ensure a wider final row. For tight spaces where mallets can’t reach, use a pull bar (like the Powernail PJ100) to draw boards together. Position it against the wall and tap with a hammer to close gaps.
For nail-down installations, you’ll need to face-nail the final rows since there won’t be space for the nailer. Pre-drill to prevent splitting, then countersink the nails and fill with wood putty. Once installed, avoid heavy traffic and furniture placement for 24 hours to allow adhesives or finishes to set properly.
Summary
Though engineered hardwood installation requires attention to detail, this project stands well within reach of dedicated DIYers. Remember that success depends largely on thorough preparation. Careful acclimation of materials, proper subfloor preparation, and selection of appropriate installation methods will significantly impact your results. Additionally, taking time to measure accurately and gather all necessary tools before starting will help ensure smooth project completion